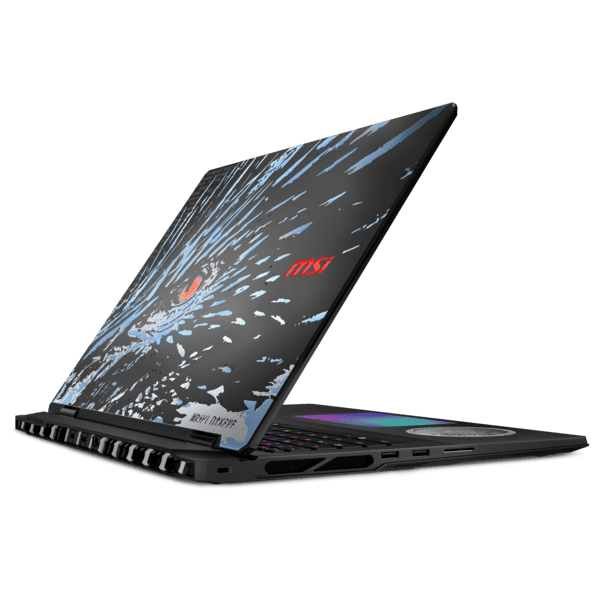
Msi gaming app windows 10 x64


Your rating has been submitted, please tell us how we can make this answer more useful.
Thanks for your opinion.
How to use Gaming APP
Gaming App Introduction
LED functions
Eye Rest
VR Ready
Gaming Hotkey
Mouse Master
● GAMING APP Introduction
GAMING APP is an application that can adjust RGB effects, fan speed, hotkeys and more, like a user dashboard to control the graphics card features in one application.

 | |||||||||||||||||||||||||||||||||||||||||||||||
 | |||||||||||||||||||||||||||||||||||||||||||||||
 | |||||||||||||||||||||||||||||||||||||||||||||||
 |
 | |||||||||||||||||||||||||||||||||||||||||
 | |||||||||||||||||||||||||||||||||||||||||
 | |||||||||||||||||||||||||||||||||||||||||
 | |||||||||||||||||||||||||||||||||||||||||
 | |||||||||||||||||||||||||||||||||||||||||
 |
 |

 | |||||||||||||||||||||||||||||||||||
 | |||||||||||||||||||||||||||||||||||
 | |||||||||||||||||||||||||||||||||||
 | |||||||||||||||||||||||||||||||||||
 |
 |

 |

 |

 |
 | ||||||||||||||||||||||||||||
 | ||||||||||||||||||||||||||||
 |
 |

 | ||||||||||||||||||||||||
 | ||||||||||||||||||||||||
 |
 | ||||||||||||||||||
 | ||||||||||||||||||
 | ||||||||||||||||||
 | ||||||||||||||||||
 | ||||||||||||||||||
 |
 Windows Windows |  |  |  [MB] [MB] |  |
| 10 — 7 | 20.12.2019 | 6.2.0.97 | 59.67 | Скачать |
| 18.09.2019 | 6.2.0.92 | 58.4 | Скачать | |
| 28.09.2018 | 6.2.0.78 | 45.5 | Скачать |
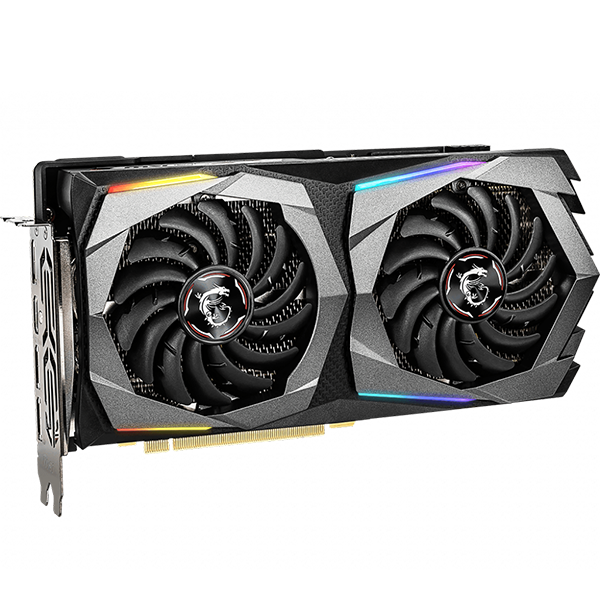
Утилита MSI Gaming App используется для гибкой индивидуальной настройки видеокарты. Приложение распространяется на диске вместе с драйверами для видеокарт линейки Gaming.
Профили
Разработчики предусмотрели сразу три профиля работы, которых вполне хватит обычным пользователям. С помощью этих режимов можно настроить производительность видеокарты MSI.
- По умолчанию активирован профиль Gaming Mode.
- OC Mode позволяет разогнать видеокарту для большей производительности.
- Для работы в умеренном режиме достаточно активировать Silent Mode. При этом снижается уровень издаваемого шума системой охлаждения.
Дополнительные функции
Также создатели приложения разработали вспомогательные элементы, которые помогают улучшить некоторые визуальные эффекты.
Eye Rest
Функция позволяет настроить контрастность вашего экрана в зависимости от предпочтений. Существует четыре режима работы:
- Eye Rest — активация предусматривает уменьшение количества голубой составляющей света. Это помогает снизить нагрузку на глаза пользователя, например, вечером.
- Gaming — режим разработан специально под игровой процесс. Он повышает яркость цветов, что делает изображение более насыщенным.
- Movie — позволяет в автоматическом режиме управлять гаммой и контрастом при просмотре видео и фильмов. Таким образом картинка получается более чистой и приятной глазу.
- Customize — режим для тех, кому не подошли представленные готовые настройки. Пользователь самостоятельно выбирает значения параметров экрана для лучшего восприятия в той или иной ситуации.
Для отображения частоты кадров (FPS) в приложениях предусмотрена такая вещь, как OSD. Также с её помощью можно смотреть параметры компьютера. Функция может работать не во всех играх, так что тестируйте.
Дополнительная возможность быстрого охлаждения системы за счет кратковременного (примерно 30 секунд) включения вентиляторов на максимальную мощность.
Zero Frozer
Если вы предпочитаете бесшумную работу за компьютером, тогда это функция вам понравится. Система охлаждения запускает вентиляторы только в тот момент, когда температура видеокарты достигает выбранного значения.
Большинство карт имеют встроенную систему подсветки. С помощью этой функции вы можете управлять подсветкой по своему усмотрению, выбирая необходимые режимы из списка.
Как отключить подсветку совсем, программа mystic light отключает только после входа логина и через какое то время Windows 10 все портит и все опять включается, нужно, чтобы эта яркая радуга вообще не светилась, уже это новогодняя елка надоела. А программа MSI Gaming App на Windows 10 не запускается!
Перерезать или выдернуть провод подсветки, но какой из них?
Или вариант, и купить другую, например evga, где такой проблемы нет.