Use your Mac notebook computer in closed-display mode with an external display
Learn how to use an external display with your Mac notebook while its built-in display is closed.
You can use an external display or projector with a Mac notebook while its built-in display is closed. This is known as closed-clamshell or closed-display mode.
Check requirements
To use closed-display mode with your Mac notebook, here’s what you need:
- An AC power adapter or an external display that provides power over USB-C or Thunderbolt 3 (USB-C).
- An external keyboard and mouse or trackpad, either USB or wireless.
- A USB-C to USB adapter or cable if you’re using a USB mouse or keyboard with a Mac that has USB-C ports.
- An external display or projector.

Enable closed-display mode
- Connect your USB keyboard or mouse to your Mac or external display, or pair your Bluetooth keyboard or mouse with your Mac. If you use a Bluetooth keyboard or mouse, choose Apple () menu > System Preferences, click Bluetooth, then verify Bluetooth is on.
- Connect your Mac to power with the AC power adapter. Some external displays, like the LG UltraFine 5K, also charge your Mac.
- Connect your external display or projector to the appropriate port on your Mac. Use an Apple video adapter if necessary. Some external displays have a USB cable that needs to be connected to your Mac.
- After your Mac notebook’s desktop appears on the external display, close your computer’s lid. You might have to press a key or click your mouse to wake the external display.
If your external display or projector doesn’t turn on after you connect it to your Mac, connect your display while your Mac is asleep or off, then wake or turn on your Mac.
Disconnect your display or projector
Before you disconnect your display or projector, put your Mac to sleep.
Choose Apple () menu > Sleep, then disconnect your display or projector.
Information about products not manufactured by Apple, or independent websites not controlled or tested by Apple, is provided without recommendation or endorsement. Apple assumes no responsibility with regard to the selection, performance, or use of third-party websites or products. Apple makes no representations regarding third-party website accuracy or reliability. Contact the vendor for additional information.
Изменение настроек монитора на Mac
В панели «Монитор» в разделе «Мониторы» Системных настроек Mac можно отрегулировать разрешение и яркость, а также настроить другие параметры монитора.
Примечание. Не все описанные тут параметры доступны для каждой модели монитора, а некоторые из них отображаются только тогда, когда компьютер Mac подключен к монитору.
Чтобы открыть эту панель, выберите меню Apple  > «Системные настройки», нажмите «Мониторы», затем нажмите «Монитор».
Степень детализации изображения на экране монитора. Выберите «По умолчанию для монитора», чтобы автоматически задать лучшее разрешение для монитора, либо выберите «Масштабированное», чтобы вручную установить масштабированное разрешение. Инструкции см. в разделе Выбор разрешения экрана Mac.
Насколько светлым или темным выглядит изображение на экране монитора. Чтобы сделать изображение ярче, сдвиньте бегунок вправо; чтобы сделать его темнее, сдвиньте бегунок влево. Инструкции см. в разделе Изменение яркости экрана Mac.
«Автоматически настраивать яркость» или «Компенсация рассеянного света» (в зависимости от монитора)
Если Ваш Mac оснащен датчиком внешней освещенности, Вы можете настроить автоматическую регулировку яркости экрана в соответствии с условиями внешней освещенности.
Автоматическое изменение цветов дисплея в соответствии с внешней освещенностью.
Изображение на экране монитора поворачивается на указанный угол. Инструкции см. в разделе Поворот изображения на экране Mac.
Насколько часто обновляется изображение на экране монитора. Если установить слишком низкую частоту, будет казаться, что экран мигает. Если установить слишком высокую частоту, может появиться черный экран, когда соответствующая частота не поддерживается. Оптимальное значение частоты обновления см. в документации к монитору.
Показывать мониторы в строке меню
В строке меню будет отображаться значок, позволяющий переключаться между наиболее часто используемыми разрешениями.
Выберите этот вариант, если в качестве монитора Вы используете телевизор и строка меню не отображается.
Через AirPlay можно по беспроводной связи передавать изображение с экрана Mac на другой дисплей. Например, через AirPlay можно передавать изображение на телевизор или iPad.
Показывать параметры видеоповтора в строке меню, если доступно
Отображение устройств с поддержкой видеоповтора AirPlay в строке меню.
Все окна с настройками мониторов будут перемещены на монитор, на котором отображается эта кнопка. Кнопка отображается, только если к Mac подключено несколько мониторов.
Система выполнит поиск мониторов, подключенных к Вашему Mac. Нажмите и удерживайте клавишу Option, чтобы отобразить эту кнопку вместо кнопки «Собрать окна», затем нажмите кнопку «Искать мониторы», если Mac не распознал только что подключенный монитор.
Use external monitors with your Mac
Learn how to connect another display to your Mac and choose how your displays work together.
You can make all of your displays mirror each other, or extend your workspace with different apps and windows on each display. If you use an external display with your Mac notebook, you can also use closed-display mode.
Check your requirements
- Check the ports on your Mac to find out whether you need an adapter.
- Check how many displays your Mac supports: Choose Apple menu > About This Mac, click Support, then click Specifications. On the webpage that appears, the number of displays your Mac supports appears under Video Support.
Use extended desktop mode
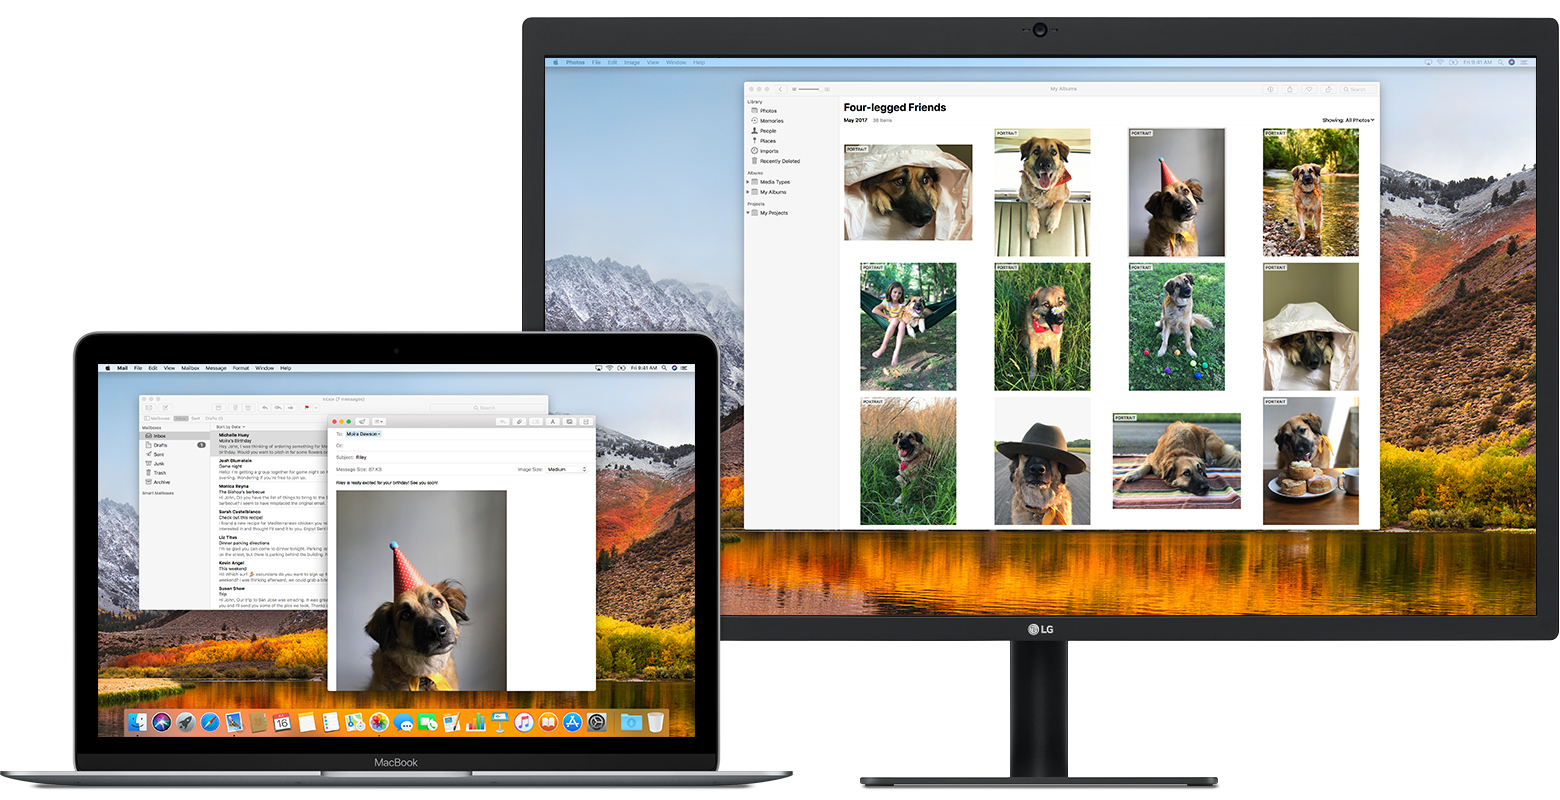
Maximize your workspace with extended desktop mode, which lets you enjoy full-screen apps and windows on each monitor. Then, use Mission Control to organize apps and windows across your displays. If your Dock is on the bottom of your screen, it appears on any of your displays when you move your pointer to the bottom edge of your display.
Turn on extended desktop mode
- Make sure that your external display is turned on and connected to your Mac.
- Choose Apple menu > System Preferences, then click Displays.
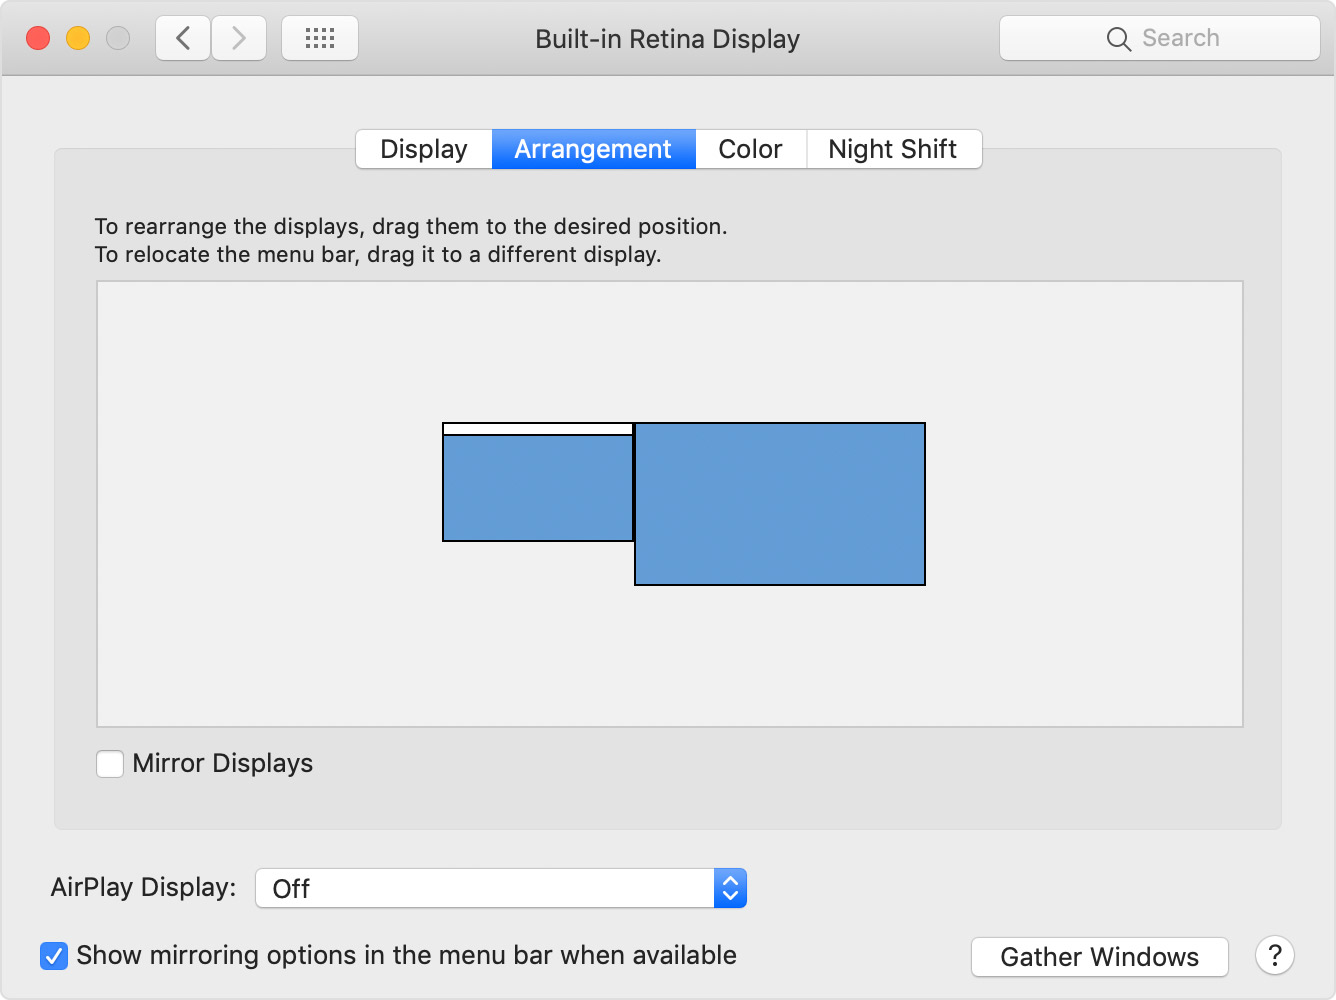
- Click the Arrangement tab.
- Make sure that the Mirror Displays checkbox isn’t selected.
Arrange your displays or change your primary display
So that you can move apps and windows across your displays in one continuous motion, arrange your displays to match the setup on your desk. You can also change your primary display, which is where your desktop icons and app windows first appear.
- Choose Apple menu > System Preferences, then click Displays.
- Click the Arrangement tab.
- To change the position of a display, drag it to the desired position. A red border appears around the display as it’s moved.
- To set a different display as the primary display, drag the menu bar to the other display.

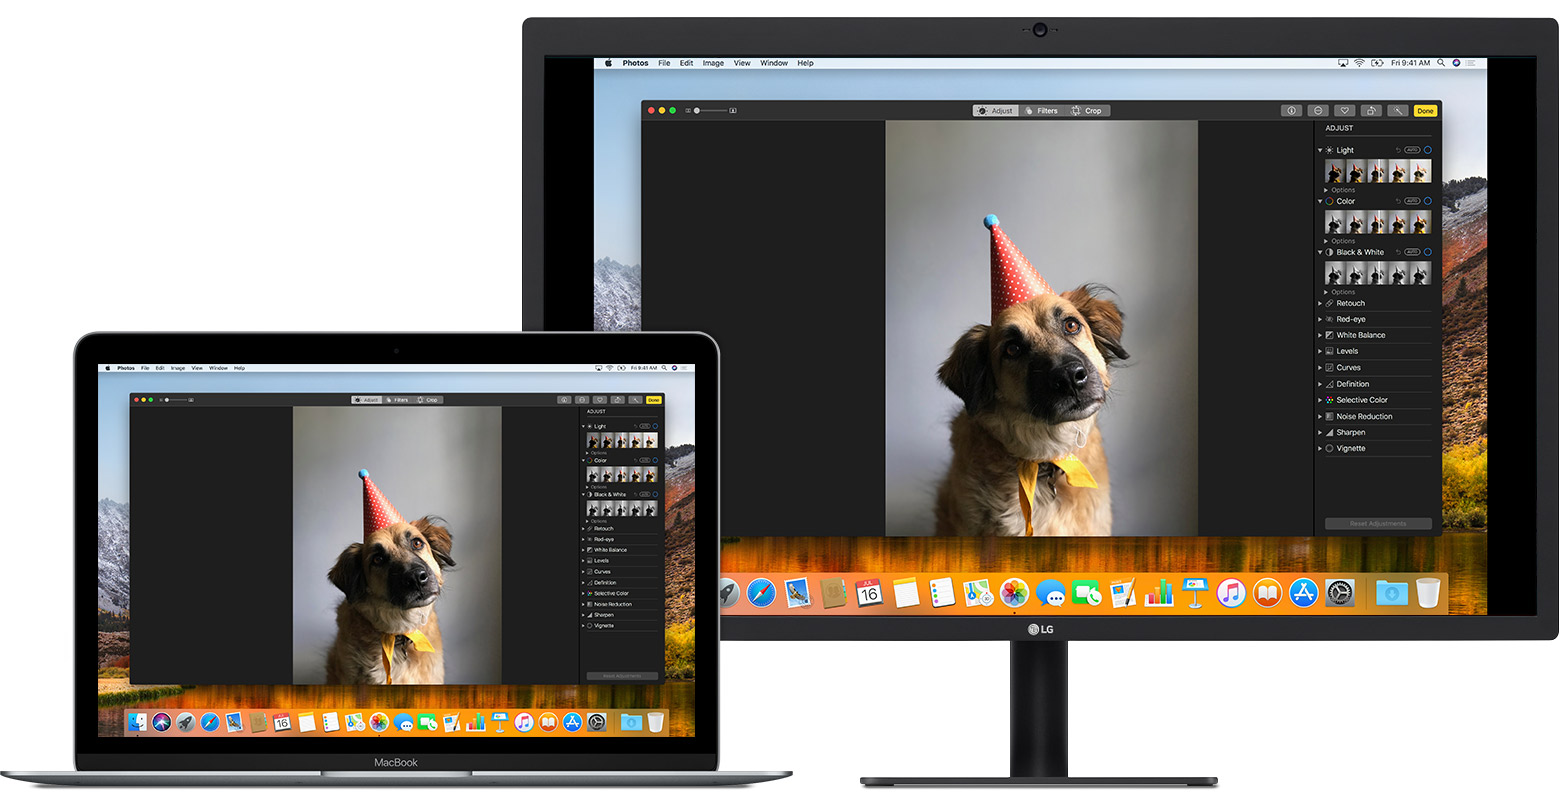
Use video mirroring
With video mirroring, all of your displays show the same apps and windows.
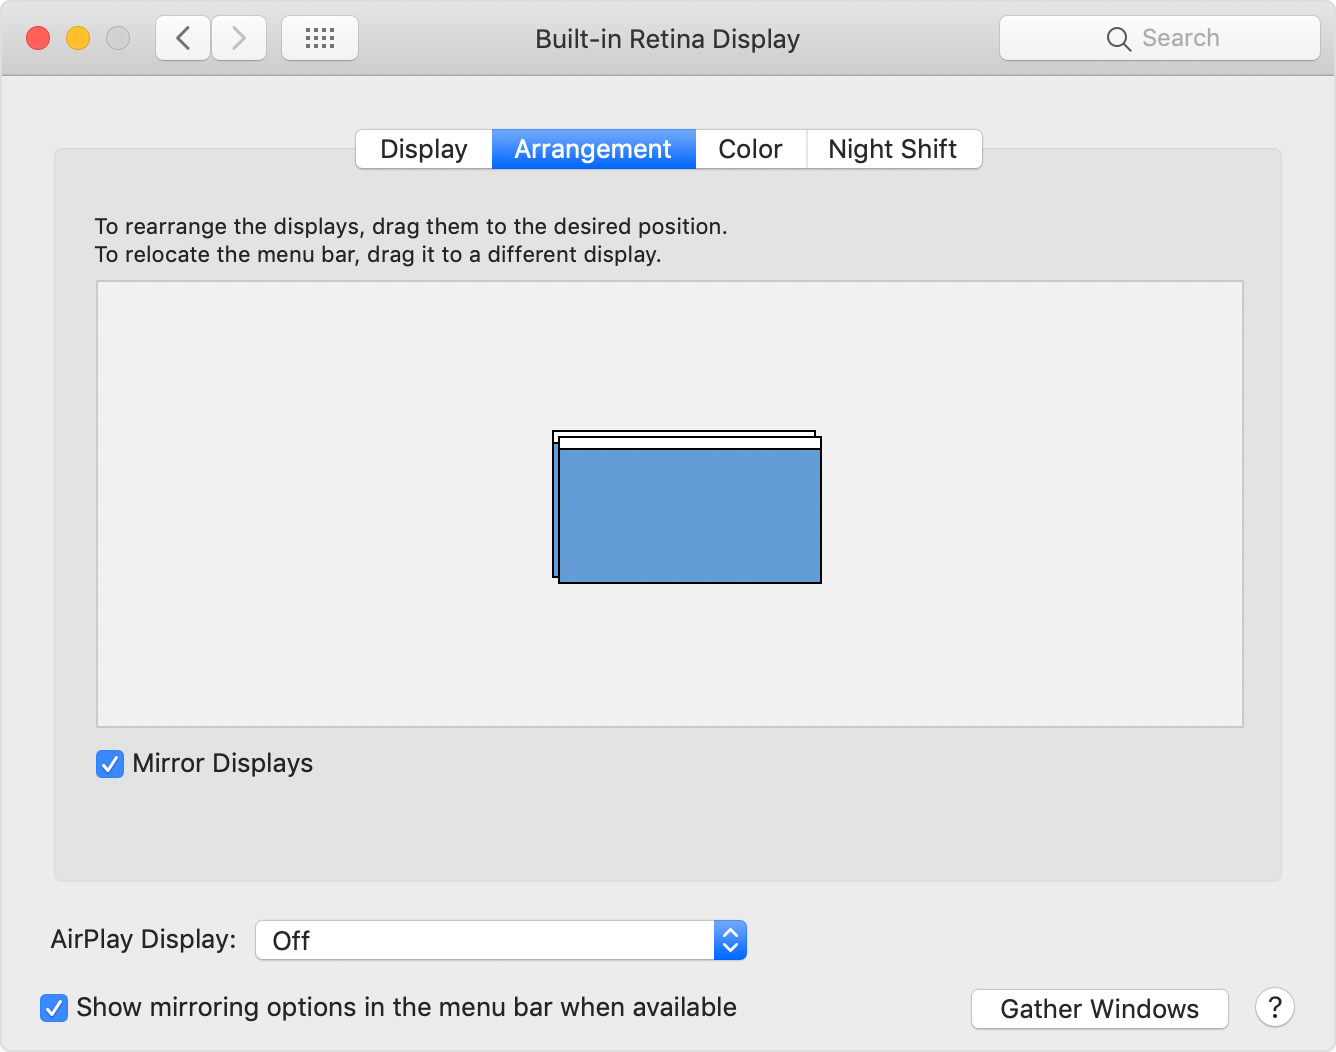
Turn on video mirroring
- Make sure that your external display is turned on and connected to your Mac.
- Choose Apple menu > System Preferences, click Displays, then click the Arrangement tab.
- Make sure that the Mirror Displays checkbox is selected.
Use AirPlay
With Apple TV, you can mirror the entire display of your Mac to your TV, or use your TV as a separate display. To turn on AirPlay, follow these steps:
- Make sure that your TV is turned on.
- Choose in the menu bar, then choose your Apple TV. If an AirPlay passcode appears on your TV screen, enter the passcode on your Mac.
- Mirror your display or use your TV as a separate display:
- To mirror your display, choose , then choose Mirror Built-in Display.
- To use your TV as a separate display, choose , then choose Use As Separate Display.
- To turn off AirPlay, choose , then choose Turn AirPlay Off.
If you don’t see in the menu bar, choose Apple menu > System Preferences, click Displays, then select the «Show mirroring options in the menu bar when available» checkbox.