FIX: Windows Cannot Connect to the Printer
Sometimes doing a simple thing such as adding a network shared printer can become a hell of a task when Windows cannot connect to the printer error is returned. The issue is usually seen with windows 7 based 64 bit systems, however it is not limited to it and many, around 30% of users running 32-bit have also reported this. The most common reason for this to occur is if the print spooler service is stucked, has a document pending in the que locked, a corruption or update and improper installation of the print-driver, more specifically the incorrect installation pushes the printer and the system to look for files in a subfolder different then windows\system32 subfolder. The printer may still work on the source system where it is physically connected to.
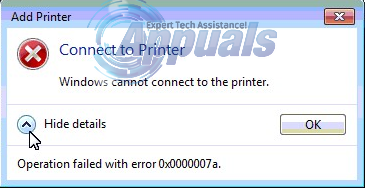
The error may have a different message then the one in the picture of which the most common is “Windows cannot connect to the printer 0x0000007e”
Solution 1: Create A New Local Port
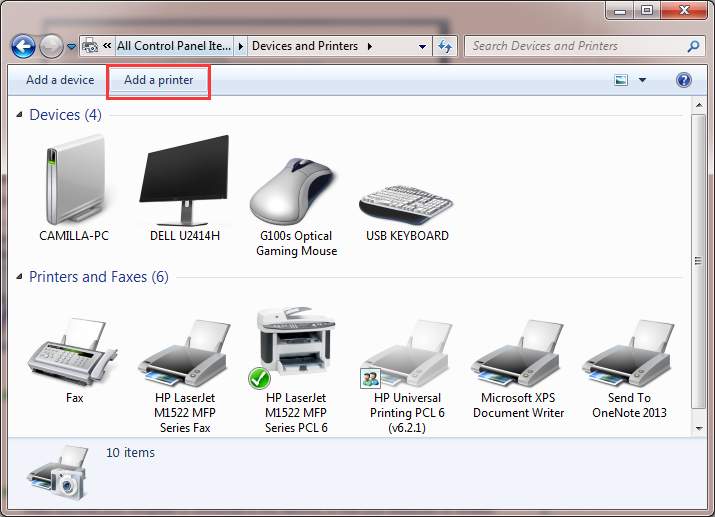
Click Start and search for “Devices and Printers“.
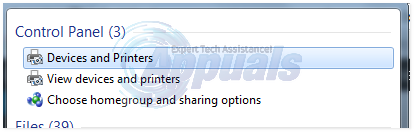
Open Devices and Printers and then Click the Add a printer on top of the window. Make sure you have Administration rights for this step on the computer.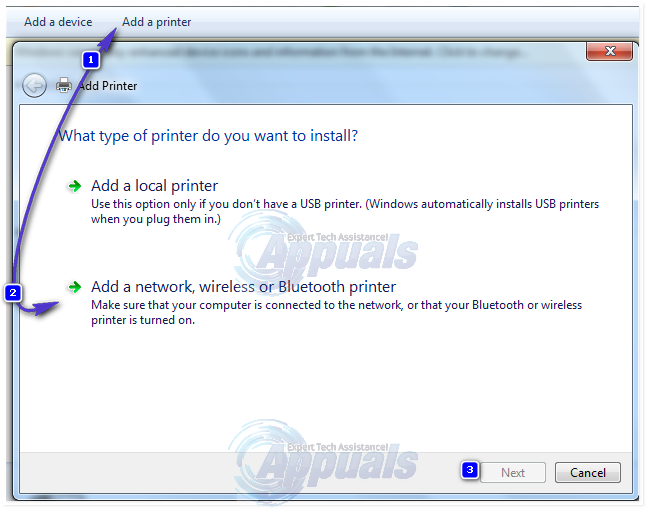
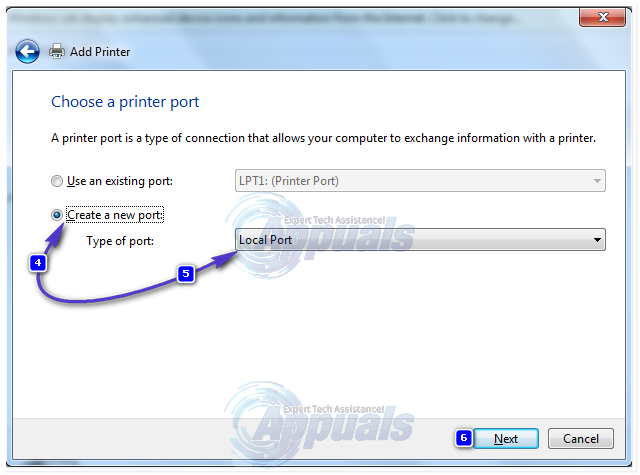
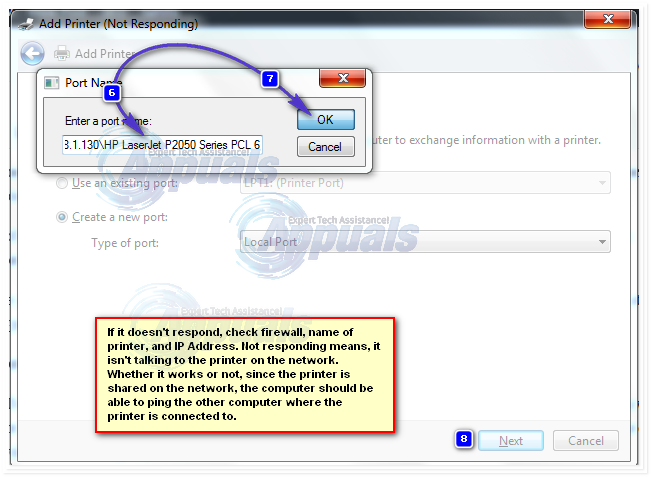
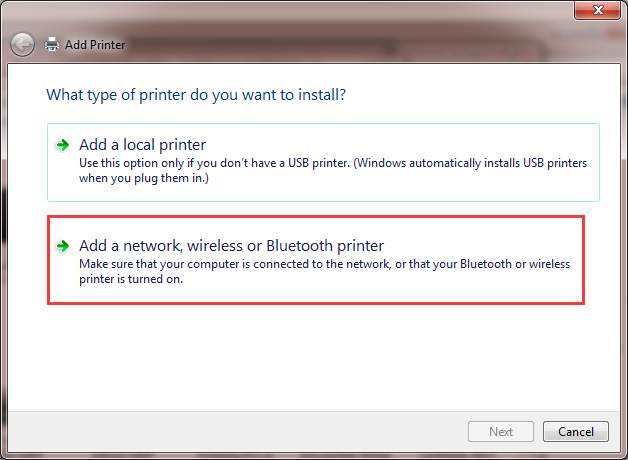
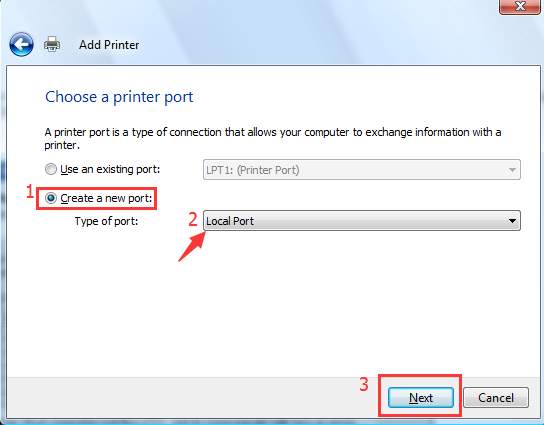
Select “Add a local printer” by clicking on it. Select “Create a new port” and make sure there is “Local Port” selected for “Type of port:”
You will be asked for a port name in a new window. Type the printer’s address in the following format:
\\IP address or the Computer Name\Printer’s Name
For example, the printer’s name is HP LaserJet P2050 Series PCL 6, and IP address of the computer it’s attached with 192.168.1.130 so the port name will be
Now click OK and Next.
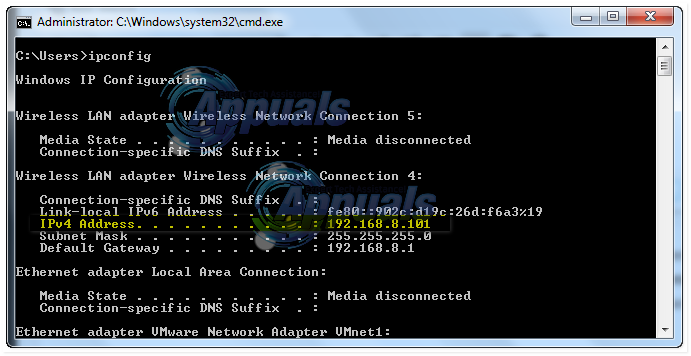
If you don’t know the IP Address of the computer where the printer is physically connected to and shared from, Hold Windows Key and Press R. Now type cmd in the run dialog and press enter. Type ipconfig in the black window and press enter. Look for IPv4 Address for the computer’s IP in the black window. Scroll up if you have to.
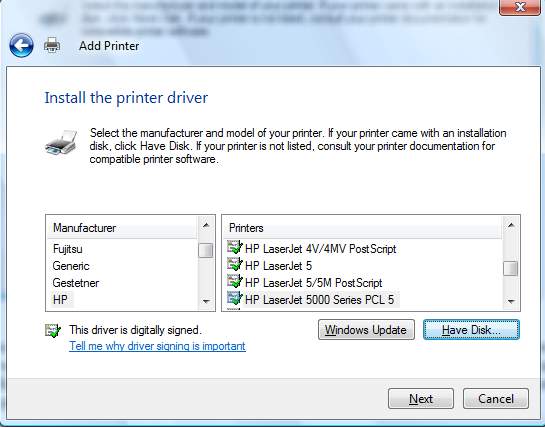
Select your printer model from the directory to install its drivers. Click Next. If you have a disk, insert the disk, click “Have Disk” and browse to the driver’s location in the disk. Click OK. Type in a name for your new printer. Click Next. Print a test page to check its connection. And click Finish. If it still won’t work, then run the hotfix from here before proceeding to Solution 2 and giving Solution 1 a try after applying the hotfix.
Solution 2: Copy mscms.dll manually
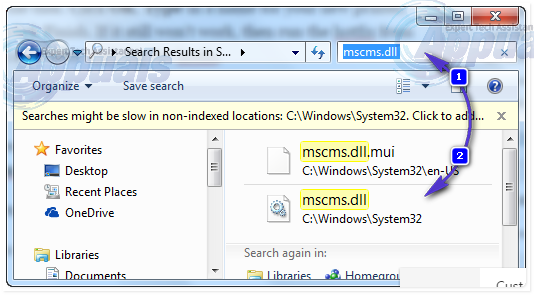
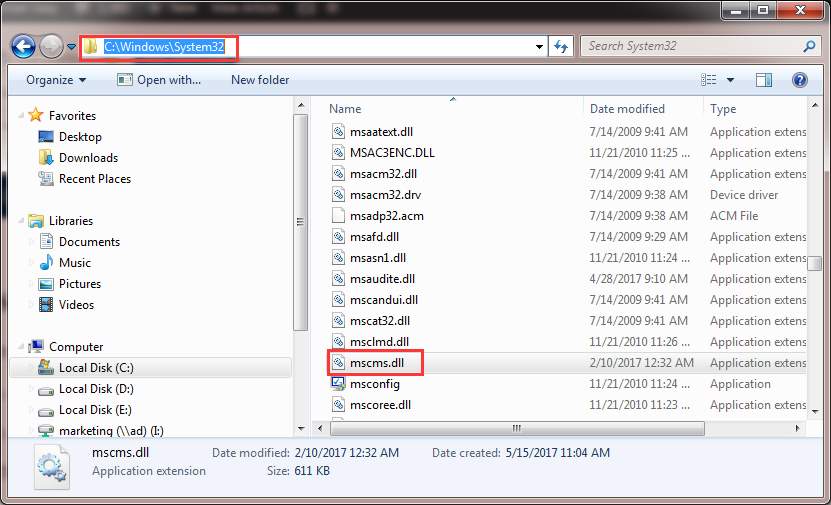
This mscms.dll is a color module which maybe failing to reach its destination folder. To copy it manually, press Windows Key + R. In the run dialog, type: Type system32 and press enter to open System32 folder.
Now type mscms.dll in the search bar. Copy the file exactly matching the name mscms.dll. (CTRL + C) to copy / (CTRL + V) to paste.
Now, if you have a 32 bit Windows installed, navigate to the following folder and paste the previously copied mscms.dll file in it:
And, If you have a 64 bit Windows installed, navigate to the following folder and paste the previously copied file in it:
Now try connecting to the printer. If it doesn’t connect, re-add the printer and test.
Solution 3: If this is an HP Printer
On the source maching where the printer is shared from, open Registry Editor and browse to the following registry path.
Locate the entry for
and delete it. Then, re-try connecting.
Solution 4: Remove Unnecessary Printer Drivers
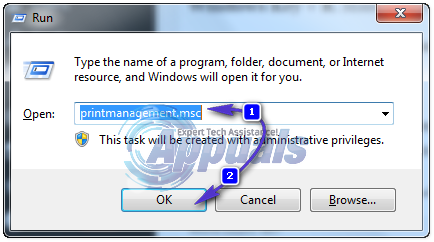
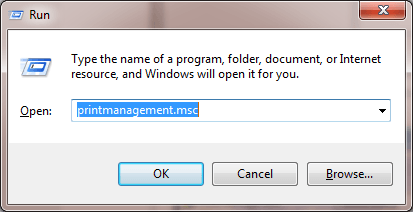
An installation of previous printer can prevent the printer spooler from adding new printers. To remove them, press Windows Key + R. Make sure you have Administration rights for this step on the computer. In the run window type printmanagement.msc and press enter.
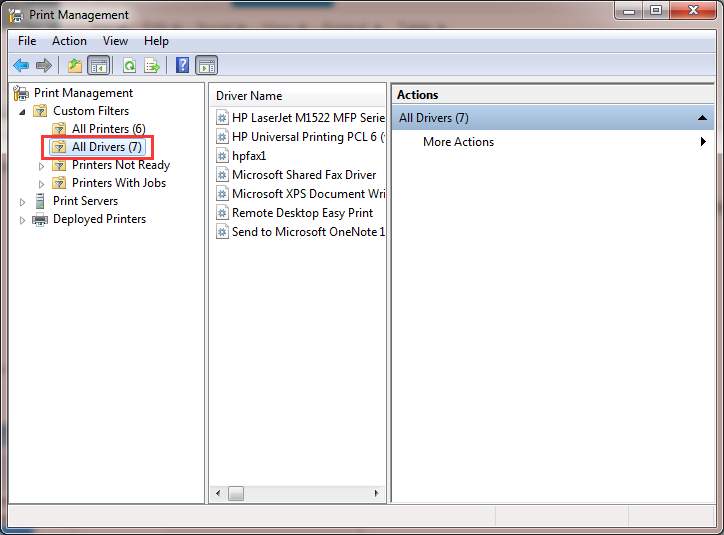
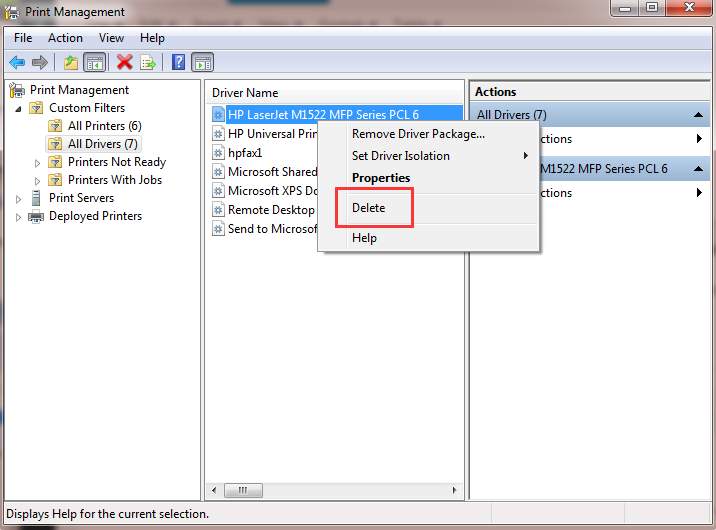
Double click on “All Drivers”. Now delete any printer’s driver that is unnecessary or questionable. To delete, right click on the driver and click on delete in the pop up menu.

After removing the drivers for the printer in question, re-add it normally, and if it still doesn’t work then re-add it using Solution 1. If it still won’t work, move to Solution 3.
Solution 5: Delete Pre-existing Driver Files From Registry
An already existing but corrupted driver file can be stopping the windows from connecting to the printer.
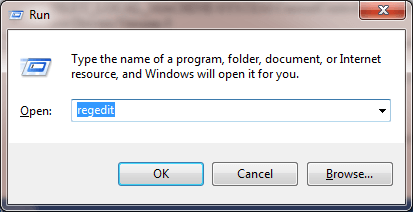
Press Windows Key + R. Type regedit and press enter. Make sure you have Administration rights for this step on the computer. Registry editor’s new window will appear. In the left pane, navigate to the following location by double clicking on the folders:
Delete the “ICM” folder which is under the “CopyFiles” folder.
Now try connecting to the printer.
Solution 6: Run Microsoft’s Automated Printer Troubleshooter
Download the file from this link. Open the file with troubleshooting wizard.
Let the troubleshooter detect and fix the issues. Test it by clicking the Add new printer button. After the troubleshooting has finished, try re-adding the printer normally and if it still won’t work, then use Solution 1 again.
Solution 7: Resetting Printer Spooler
Follow the guide here to reset print spooler.
Ошибка 0x00000057 при установке принтера в Windows
Несколько раз столкнулся со следующей проблемой: при попытке подключить некий сетевой принтер с одного из принт-серверов на клиенте появляется ошибка 0x00000057 Windows cannot connect to the printer . Ошибка появляется на этапе установки драйвера принтера с принт-сервера и, как я выяснил в дальнейшем, исправляется на стороне клиента. Ниже приведу последовательность действий, которая помогла мне решить эту ошибку.
Драйвер принтера не установлен. Невозможно завершить операцию (ошибка 0x00000057)
В том случае, если драйвер подключаемого сетевого принтера уже установлен на проблемном компьютере, стоит попробовать вручную удалить его из хранилища драйверов . Для этого откройте диалоговое окно со списком установленных локально драйверов печати и удалите драйвер подключаемого принтера (и x64 и x86 версии).
После удаления драйвера попытайтесь еще раз подключить сетевой принтер.
Если это не помогло, или драйвер отсутствовал на клиентской системе, выполните следующие операции.
- Нам понадобится компьютер, на котором данный принтер установлен корректно и успешно печатает. На этом компьютере запустите редактор реестра и перейдите в следующую ветку реестра
- на x64 системе: HKEY_LOCAL_MACHINE System\CurrentControlSet\Control\Print\Environments\Windows NT x64\Drivers\Version-3\
- на x86 системе HKEY_LOCAL_MACHINE\System\CurrentControlSet\Control\Print\Environments\Windows NT x86\Drivers\Version-3\
- Найдите ветку с именем драйвера принтера, который вы хотите установить и экспортируйте ее в Reg файл.
Затем в данной ветке найдите значение ключа InfPath. В моем примере это C:\Windows\System32\DriverStore\FileRepository\prnhp002.inf_amd64_neutral_04d05d1f6a90ea24\prnhp002.inf
Перейдите в каталог C:\Windows\System32\DriverStore\FileRepository и найдите имя папки, на которую указывает ключ
- Теперь на проблемном компьютере попытайтесь найти эту папку. Скорее всего она будет присутствовать, но будет пустой. Это свидетельствует о том, что процесс установки драйвера аварийно прервался
Отредактируйте NTFS разрешения на данную папку (скорее всего понадобится сделать себя ее владельцем), и добавить права Full Control для группы локальных администраторов.
- Импортируйте reg файл на проблемном компьютере и скопируйте содержимое папки драйвера с нормального компьютера на проблемный.
Перезапустите службу печати; net stop spooler & net start spooler
- Попробуйте подключить принтер. Клиент должен успешно скачать и установить драйвер с принт-сервера.
Fix Windows Cannot Connect to the Printer Issue. Easily!
Last Updated: 2 years ago
When you are trying to add a network shared printer, if you receive message “Windows cannot connect to the printer.”(commonly occur to Windows 7), you must be very frustrated. But don’t worry. You can use solutions in this post to fix the problem. Each solution has been reported to be useful. So try all of them until you have the problem fixed.
The error would appear with a specific error code like 0x0000007e. The most common error codes are as follows:
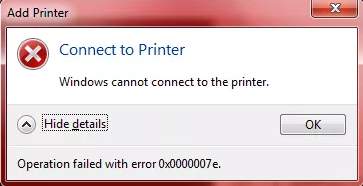
Windows Cannot Connect to the Printer – Operation Failed with Error 0x0000007e
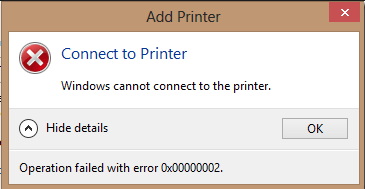
Windows Cannot Connect to the Printer – Operation Failed with Error 0x00000002
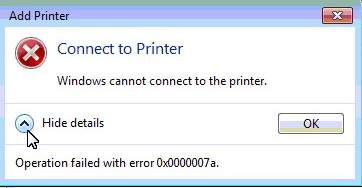
Windows Cannot Connect to the Printer – Operation Failed with Error 0x0000007a
Solution 1: Restart Print Spooler Service
Follow steps below to stop Print Spooler service then start it again.
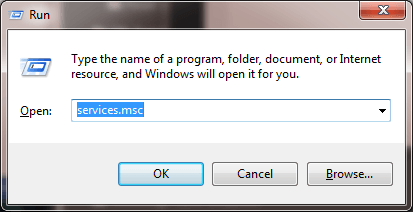
1. Press Win+R (Windows logo key and R key) at the same time. A Run dialog box will open.
2. Type services.msc in the run box and click OK button.
3. In the Name list, locate and double-click on service Print Spooler.
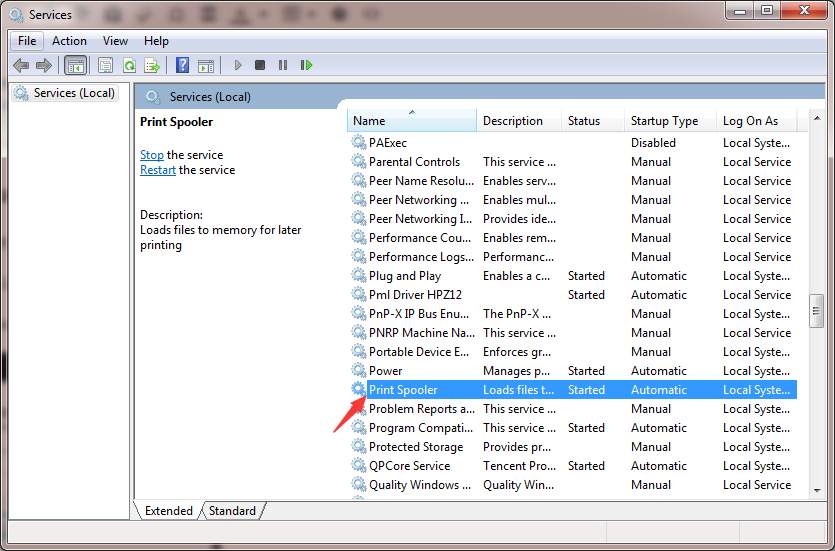
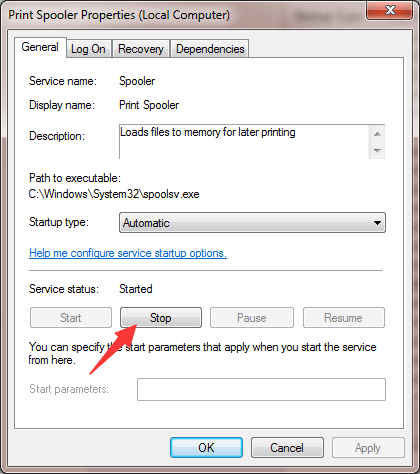
3. Under Service status, click Stop button.
4. Click Start button to start the service again.
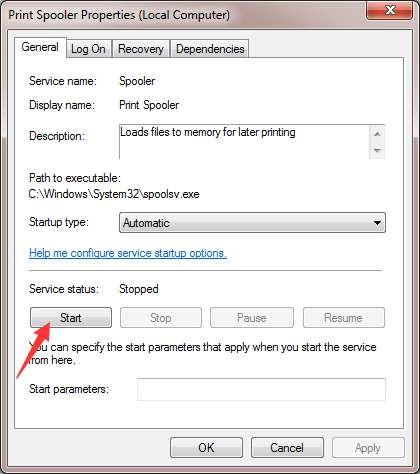
5. Click OK button.
After that, add the printer again and see if the problem persists.
Solution 2: Create a New Local Port
Follow these steps:
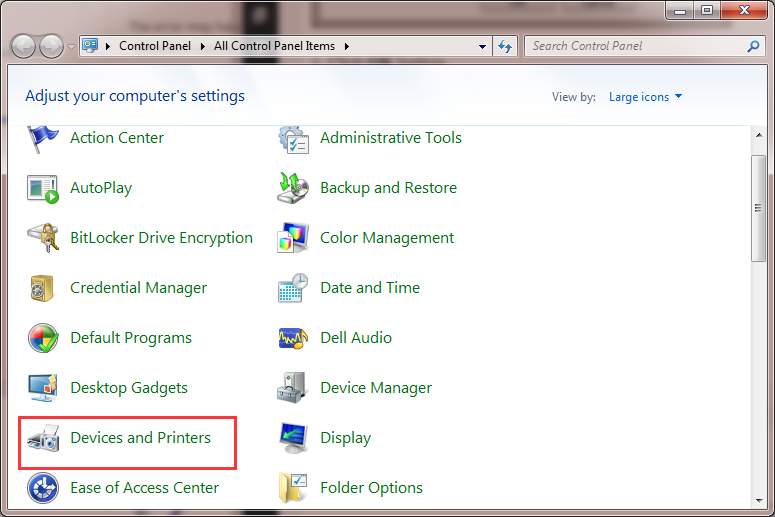
2. View by Large icons, click Devices and Printers.
3. Click Add a printer at the top of the window. Note: To continue, you need to login to the computer as an administrator.
4. Select Add a network, wireless or Bluetooth printer.
5. Select Create a new port, change the “Type of port” to Local Port then click Next button.
6. Enter a port name in the box. The port name is the printer’s address. The address format is \\IP address or the Computer Name\Printer’s Name (refer to the following screen). Then click OK button.

7. Select the printer model from the directory and click Next button.
8. Follow the rest on-screen instructions to finish adding the printer.
Solution 3: Delete Printer Drivers
The problem can be caused by printer drivers. So you can try to remove the drivers and install them again.
Follow steps below:
1. Press Win+R (Windows logo key and R key) at the same time. A Run dialog box will open.
2. Type printmanagement.msc in the run box and click OK button.
3. In the left pane, click All Drivers.
4. In the right pane, right-click on the printer driver and click Delete on the pop-up menu.
If you see more than one printer driver names, repeat steps above to remove them one by one.
5. Add the printer again.
If the problem persists, you may want to install the driver manually. You can download and install the driver from the printer manufacturer’s website.
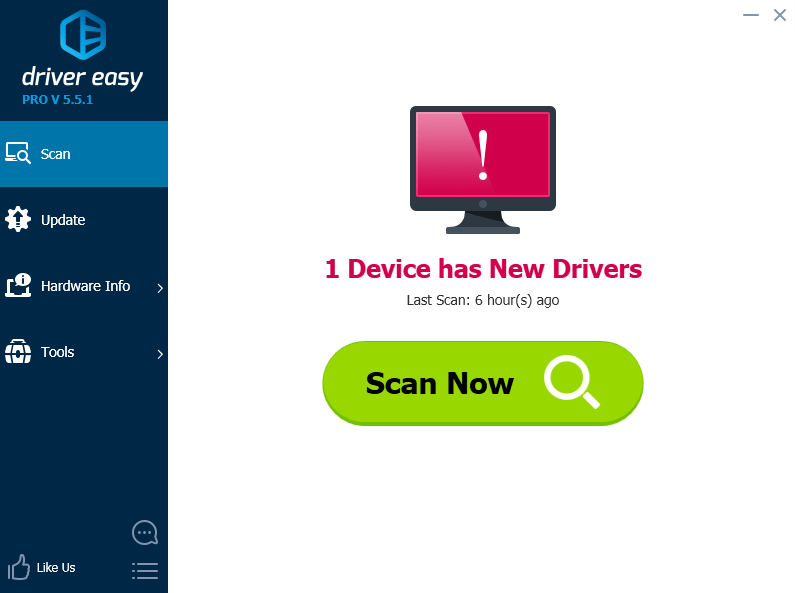
If you have difficulty downloading the driver manually, you can use Driver Easy to help you. Driver Easy can scan your computer to detect all problem drivers then provide you with new drivers instantly. Download its Free version to have a try. If you find it helpful, you can consider upgrading to the Pro version. The Pro version allows you to update all drivers with just one-click.
Solution 4: Copy “mscms.dll” Manually
1. Open C:\Windows\system32 and find the file “mscms.dll“.
2. Copy the file to the following path:
C:\windows\system32\spool\drivers\x64\3\ if you are using 64-bit windows
C:\windows\system32\spool\drivers\w32x86\3\ if you are using 32-bit windows
If you have no idea which version of Windows you are using, see How to Get Operating System Version.
3. Try to connect to the printer again.
Solution 5: Delete a Subkey
Modifying registry keys incorrectly may cause serious system problems. So before you get started, it is recommended that you back up the registry key so you can restore it in case any problems occurs.
1. Stop Print Spooler service. (refer steps in Solution 1 to stop the service)
2. Press Win + R (Windows logo key and R key) at the same time. A Run dialog box will open.
3. Type regedit in the run box and click OK button.
4. Expand HKEY_LOCAL_MACHINE\SOFTWARE\Microsoft\Windows NT\CurrentVersion\Print\Providers\Client Side Rendering Print Provider. Right-click on Client Side Rendering Print Provider and select Delete.
5. Start the Print Spooler service.
6. Reboot your computer and try to add the printer again.
Hope the solutions here will help you fix the printer not connecting issue.